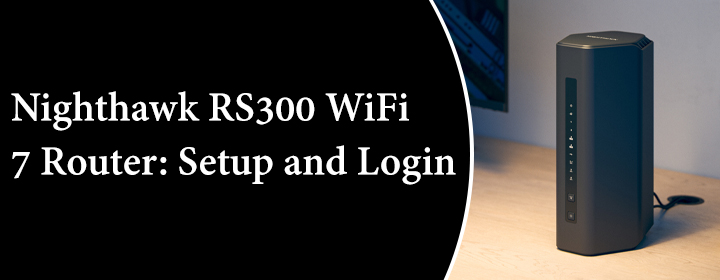
Nighthawk RS300 WiFi 7 Router: Setup and Login
The Nighthawk RS300 WiFi 7 router can provide you with a WiFi speed of up to 9.3Gbps in all the parts of house. It is one of the most reliable networking devices when it comes to providing the best internet speed with security. Walk through the information provided in the blog if you want to set up the router to improve the home WiFi coverage.
How to Set Up Nighthawk RS300 WiFi 7 Router?
The router can be installed with the help of the Nighthawk mobile app or the routerlogin.com URL. Since the app has a user-friendly interface, we will help you with the setup process using the Nighthawk app. Here’s how to set up the RS300 router:
- If you already have a router installed in the house, unplug it.
- Once done, you are required to plug in your Netgear RS300 router there.
- Switch off the modem and ensure that the router is also turned off.
- Thereafter, connect the LAN port of the modem to the WAN port of your Nighthawk wireless router using an Ethernet cable.
- Download the Nighthawk app on your mobile phone after that.
- Then, switch on your modem and router and connect your mobile phone to the Nighthawk RS300 router network.
- The default details of the router are given on its label.
- Now, launch the Nighthawk app.
- If you already have a Netgear account, perform Nighthawk login using the required info. You can also create a fresh account.
- The app will now show some prompts.
- Follow those prompts to complete the installation process of your router.
How to Login to Nighthawk RS300 WiFi 7 Router?
The WiFi 7 router comes equipped with a number of features like Access Control, Port Forwarding, Port Triggering, etc. These features can be enabled after logging in to the router. Apart from this, you can also update the firmware and change various network settings only after completing the WiFi router login process. Here are the steps that you should follow to login to the router using an internet browser:
- Ensure that your RS300 router is plugged into a working outlet.
- Now, connect your PC to the router’s WiFi network.
- Load an updated internet browser on your PC and move to its address field.
- There, type routerlogin.com or routerlogin.net or 192.168.1.1 and press Enter.
- A login page will now show up on your computer’s screen.
- Here, you need to enter the username and password of your Nighthawk WiFi 7 router.
- The default username of the WiFi 7 router is admin whereas the default password is password. Both these details are case-sensitive and must be entered carefully. However,
- if you’ve ever modified them, consider using the updated details.
- Click Log In.
- The dashboard or the Status page of the RS300 router will appear.
- Here, you can manage the home network settings and enable various features to improve the WiFi performance.
Firmware Update: If you want your Nighthawk RS300 router to stay equipped with the latest features all the time, you should keep its firmware updated. The firmware update process can be completed through a web browser or the Nighthawk app.
The Concluding Words
Installing a Nighthawk RS300 WiFi 7 router is a great option to bid adieu to WiFi dead zones. Hopefully, the instructions given in this post will help you with the setup and login process.
