Quickly Setup New Nighthawk Router: Model WiFi 7 Router RS300
Netgear Nighthawk WiFi 7 RS300 router is a three-band device that promise awesome WiFi internet connectivuty throughout the home. Here, in this quick guide, you will get to learn how to setup the Nighthawk router WiFi 7 model RS300 though the Nighthawk app or Nighthawk router login interface.
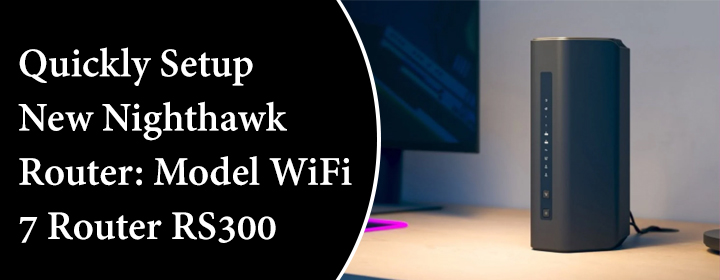
Netgear Nighthawk RS300 Router Setup
Cable Router
Place your WiFi router close to the modem. Use Ethernet cable to make the connection between the router and modem.
- Connect one end of the cable to the modem’s LAN port.
- Plug the other end of the cable to router’s WAN port.
- Turn on router by plugging its power adapter into a working wall socket.
Setup Through Nighthawk App
To set your router up with thehelp of the Nighthawk app, download the app in your phone first and follow some instructions:
- Open the app and access it via Netgear account credentials.
- Select Set Up a New Device.Choose Range Extender.
- App will instruct you to connect the phone with the WiFi router network.
- Enter the new WiFi name and password. SAVE settings to apply.
Wait until the router refreshes its settings. Then you can join its network.
Setup Through Routerlogin.net
To setup the router via computer and routerlogin.net, you must connect your computer with router network and follow some instructions:
- Open browser and search the URL routerlogin.net or IP address 192.168.1.1.
- A Nighthawk router login page will appear, enter the admin default username and password.
- The admin default credentials are given on the back label of the router.
- Access the dashboard and start router’s setup.
- Enter the new WiFi name and password. Then click SAVE button.
The router will reboot and after that you can easily connect the devices to your new router’s network.

Freddie
Author
Freddie is an expert technician and WiFi router specialist who has troubleshooted a number of technical issues related to home and office WiFi networks. His passion to make internet services error free in your house makes him a strong asset for nighthawk-login.com to help internet users through easy set-up guides and troubleshooting tips.