Netgear Genie Setup: Easy Guide to Install Extender
Netgear Genie is a powerful tool designed to simplify the management of Netgear routers and extenders. With its user-friendly interface, you can control, configure, and monitor your network devices directly from your computer.
In this guide, you’ll learn how to complete the Netgear Genie Setup step by step and understand why it’s important for smooth network performance.
What is Netgear Genie Setup?
Netgear routers are known for their advanced features and reliable performance. However, managing multiple settings manually can be complex. This is where Netgear Genie comes in.
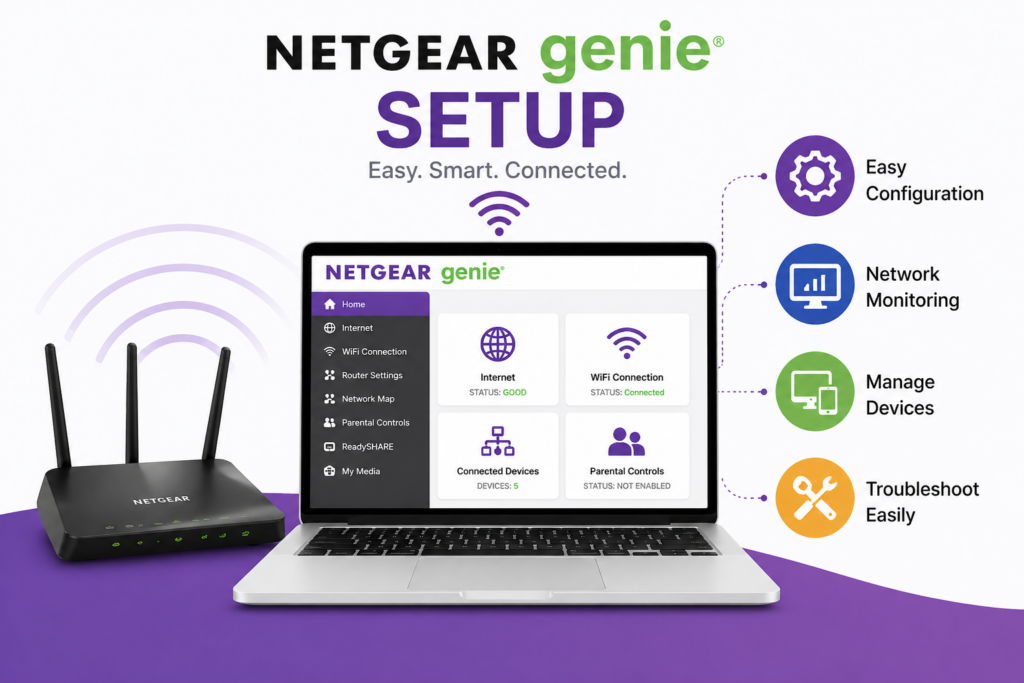
It acts as a centralized control panel that allows you to:
- Configure router and extender settings
- Monitor network performance
- Manage connected devices
- Troubleshoot connectivity issues
Once properly set up, your router can work seamlessly with your Internet Service Provider (ISP) and deliver stable connectivity.
Why Netgear Genie Setup is Important
Setting up your device using Netgear Genie ensures:
- Smooth and uninterrupted internet performance
- Better security for your WiFi network
- Easy control over routers, extenders, and repeaters
- Efficient handling of multiple connected devices
Although Netgear routers have excellent performance, they come with range limitations. Using a WiFi extender along with proper Netgear Genie Setup helps eliminate weak signal areas.
The software also provides useful insights like signal strength, coverage, and device status, making network management much easier.
Step-by-Step Netgear Genie Setup Process
Follow these instructions to set up your Netgear router or extender using the Netgear Genie interface:
- Turn off your modem and Netgear extender.
- Connect your modem to the extender using an Ethernet cable (Internet port).
- Power on your Netgear router and wait until the Power LED turns solid green.
- Open a web browser on your computer.
- Enter one of the following URLs in the address bar:
- The login page will appear. Enter the default username and password.
- The Netgear Genie Setup Wizard will open automatically.
If you see Smart Wizard instead of Genie, your device is an older model. You can proceed using the Smart Wizard interface.
- Click on the Advanced tab.
- Select Setup Wizard from the left panel.
- Choose Yes to allow Netgear to detect your internet connection.
- Click Next and wait for the process to complete.
- Once done, a “Congratulations” page will appear.
- Click Take me to the Internet to verify connectivity.
Your Netgear extender/router is now successfully configured.
Additional Benefits of Netgear Genie
- Centralized control for all Netgear devices
- Easy setup with Smart Wizard
- Real-time network monitoring
- Improved connectivity and performance
- Simplified troubleshooting
Final Words
Completing the Netgear Genie Setup allows you to fully utilize your Netgear networking devices without complications. Whether you are setting up a router or extender, the Genie interface makes the entire process quick and user-friendly.
If you face any issues during setup, it’s recommended to seek technical assistance to ensure everything works correctly.